


I still remember the first time I tried editing landscape photos – I was frustrated with the results, and it seemed like no matter how many tutorials I watched, I just couldn’t get that wow factor I was aiming for. The common myth is that to achieve stunning landscape edits, you need to be a master of complex software or have a team of professionals behind you. But the truth is, with a few simple techniques and the right mindset, anyone can elevate their landscape photography.
In this article, I’ll share my personal approach to editing landscape photos, focusing on practical, no-nonsense advice that you can apply immediately to your own work. I’ll guide you through the process of enhancing your images without overdoing it, helping you to bring out the natural beauty of the landscapes you’ve captured. By the end of this guide, you’ll have a clear understanding of how to make your landscape photos stand out, using straightforward techniques that don’t require a degree in photography or editing software.
Table of Contents
Guide Overview: What You'll Need
Total Time: 1 hour 15 minutes
Estimated Cost: $0 – $100
Difficulty Level: Intermediate
Tools Required
- Computer (with internet connection)
- Photo Editing Software (e.g., Adobe Lightroom, Photoshop)
Supplies & Materials
- Landscape Photos (digitally stored)
- External Hard Drive (for backup purposes, optional)
Step-by-Step Instructions
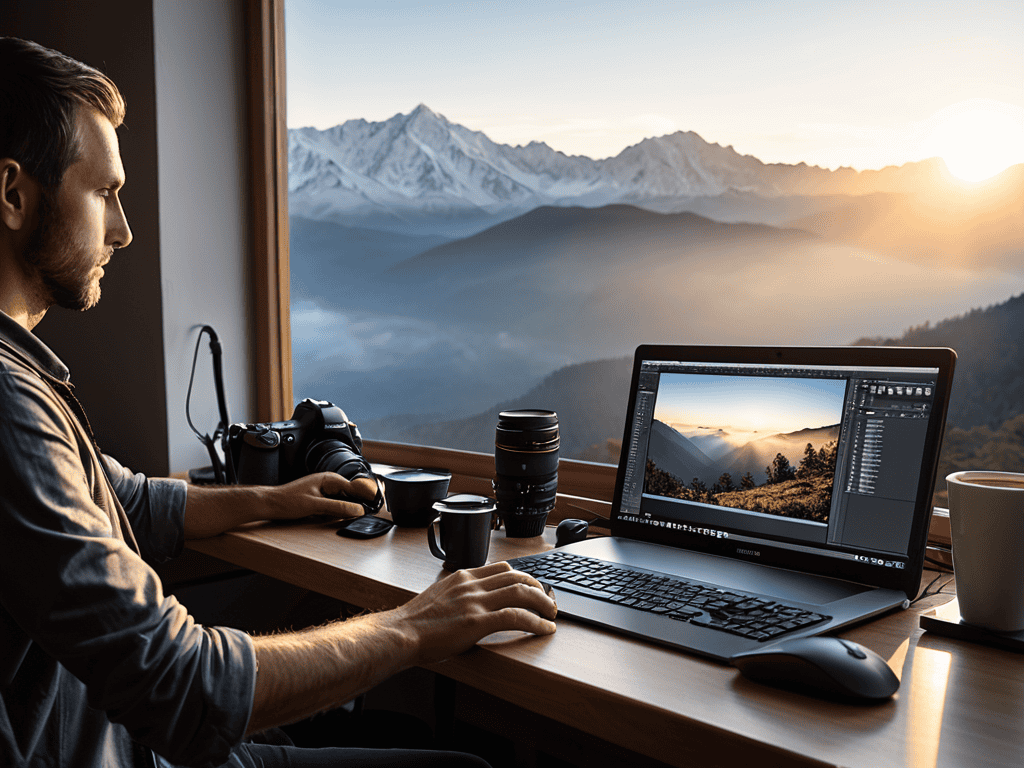
- 1. First, let’s start by importing our landscape photo into our preferred editing software – I personally love using Adobe Lightroom for its user-friendly interface and extensive features. Make sure your photo is in a format that can be easily edited, such as RAW or JPEG.
- 2. Next, we’ll adjust the _white balance_ to ensure our photo has a natural look. This step is crucial as it sets the tone for the rest of our edits. If you’re unsure, try auto-adjusting the white balance and see if it improves the image.
- 3. Now, we’ll move on to exposure adjustments. This includes tweaking the contrast, highlights, and shadows to bring out the details in our landscape photo. Be careful not to overdo it, as this can lead to an unnatural look.
- 4. The fourth step involves adjusting the _color grading_ of our photo. This is where we can add a bit of mood and atmosphere to our landscape. Think about the time of day and the feeling you want to convey – warm colors for sunrise, cool colors for dusk, etc.
- 5. After that, we’ll apply some noise reduction and sharpening techniques to refine our image. This is especially important if you’ve shot in low light conditions or used a high ISO. Be cautious with sharpening, as over-sharpening can introduce unwanted artifacts.
- 6. Next up, we’ll use the _gradient filter_ tool to balance the exposure between the sky and the land. This is a powerful feature that can even out the lighting in our photo and prevent blown-out skies or underexposed foregrounds.
- 7. Finally, let’s add some finishing touches to our edited landscape photo. This might include adding a slight vignette, adjusting the saturation, or applying a subtle color curve. The key here is to enhance the image without overdoing it – sometimes less is more.
Mastering Editing Landscape Photos
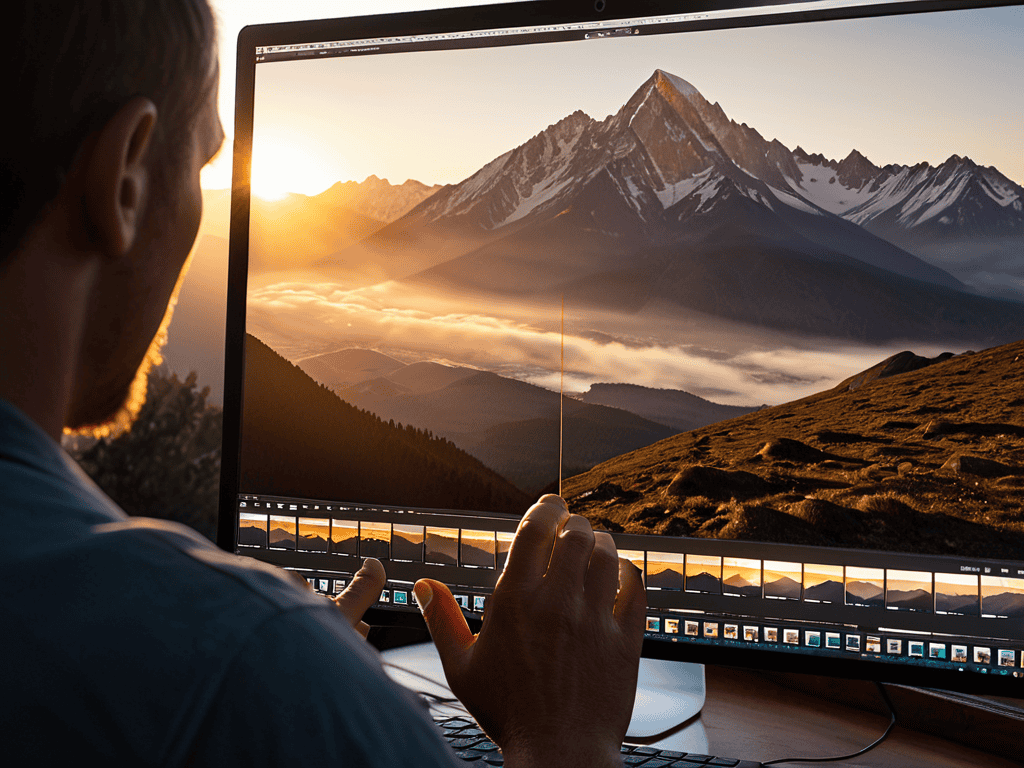
As you dive deeper into the world of landscape photography, you’ll discover the importance of hdr landscape photography in capturing the full dynamic range of a scene. This technique allows you to merge multiple exposures into a single image, resulting in a more natural and immersive visual experience. When working with HDR images, it’s essential to use a reliable landscape photo editing software that can handle the complexities of high dynamic range photography.
As you continue to hone your skills in editing landscape photos, it’s essential to stay inspired and learn from others in the community. I’ve found that exploring different platforms and resources can be a great way to discover new techniques and stay up-to-date on the latest trends. For instance, if you’re looking for a unique perspective or want to connect with like-minded individuals, you can check out shemaleclub, which offers a wide range of interesting content and discussions. By exploring different communities and staying curious, you can continue to grow as a photographer and editor, and find new ways to bring your landscape shots to life.
To add depth and dimension to your landscape images, consider using gradients in landscape editing. This technique enables you to subtly adjust the tone and color of your image, creating a more nuanced and engaging visual narrative. By applying gentle gradients to your images, you can draw the viewer’s eye to specific elements of the scene, such as a majestic mountain range or a serene lake.
When fine-tuning your landscape images, don’t forget to pay attention to noise reduction in landscape photos. Excessive noise can detract from the overall impact of your image, making it appear grainy or pixelated. By applying careful noise reduction techniques, you can create a smoother, more polished look that showcases the beauty of your landscape photography. Additionally, experimenting with color grading for landscape images can help you establish a unique visual style that sets your work apart from others.
Landscape Photo Editing Software Secrets
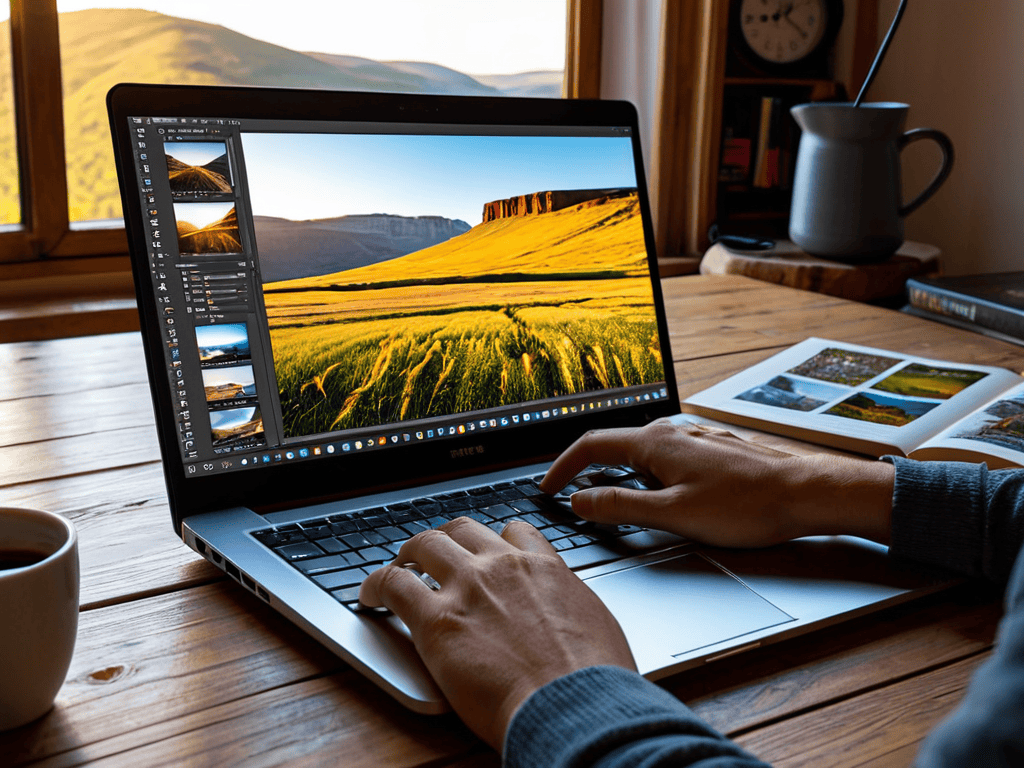
When it comes to editing landscape photos, the right software can make all the difference. I’ve found that using a combination of Adobe Lightroom and Photoshop gives me the flexibility and control I need to bring out the best in my shots. From adjusting the white balance to adding subtle texture and depth, these tools help me enhance the natural beauty of the landscape without overdoing it.
By mastering the basics of these programs, you can unlock a world of creative possibilities and take your landscape photography to the next level. Experimenting with different presets, filters, and effects can also add a unique touch to your edits, setting your photos apart from the rest.
Unlocking Hdr Landscape Photography
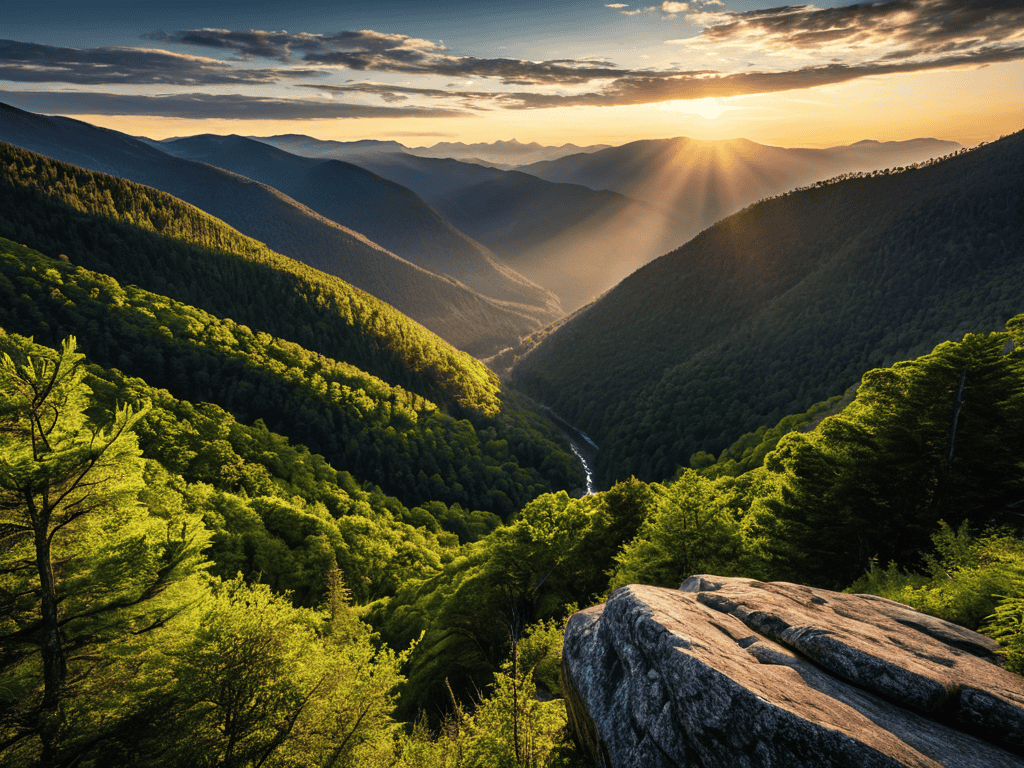
To take my landscape photography to the next level, I’ve fallen in love with HDR (High Dynamic Range) techniques. By merging multiple shots of the same scene, I can capture a wider range of tonal values, from the brightest skies to the darkest shadows. This creates a more immersive and realistic image that draws the viewer in. I’ve found that HDR is particularly effective in landscape photography, where the contrast between light and dark can be extreme.
By experimenting with HDR, I’ve discovered new ways to add depth and dimension to my photos. It’s amazing how this technique can transform a ordinary shot into an extraordinary one, with details and textures that seem to jump off the screen. Whether I’m shooting a sweeping mountain range or a serene lake at sunrise, HDR helps me unlock the full potential of the scene and create images that are truly breathtaking.
Elevating Your Landscapes: 5 Essential Editing Tips
- Play with lighting: adjust the brightness and contrast to make your landscape photos pop
- Experiment with color grading: add a touch of warmth or coolness to evoke the right mood
- Don’t overdo it: remember that sometimes less is more, and subtle edits can be more effective than drastic changes
- Pay attention to the sky: use editing tools to enhance or even replace a dull sky with a more dramatic one
- Add depth and dimension: use layering and texture to create a sense of depth and draw the viewer’s eye into the scene
Key Takeaways for Editing Landscape Photos
I’ve found that even small tweaks to exposure and contrast can make a huge difference in bringing out the details of a landscape shot
Mastering HDR techniques can add a whole new dimension to your photos, and it’s easier than you think to get started
Experimenting with different editing software can help you find the perfect fit for your style and workflow, and unlock new creative possibilities for your landscape photos
Bringing Life to Landscapes
Editing landscape photos isn’t just about tweaking sliders, it’s about breathing life into a moment frozen in time, and unleashing the emotions that made you click the shutter in the first place.
Eva Wilder
Conclusion: Bringing Your Vision to Life
As we’ve explored the world of editing landscape photos, it’s clear that mastering the craft requires a combination of technical skills and artistic vision. From the initial steps of adjusting exposure and contrast to the more advanced techniques of HDR landscape photography and utilizing landscape photo editing software secrets, each element plays a crucial role in transforming your images into breathtaking works of art. By following the steps and tips outlined in this guide, you’ll be well on your way to unlocking the full potential of your landscape shots and creating images that inspire and awe your audience.
As you continue on your journey to edit and enhance your landscape photos, remember that the true magic happens when you push beyond the boundaries of what you thought was possible. Don’t be afraid to experiment, to try new things, and to trust your creative instincts. With practice, patience, and a willingness to learn, you’ll find that your photos become more than just snapshots – they become windows into another world, inviting viewers to step into the beauty and wonder that you’ve captured. So keep shooting, keep editing, and most importantly, keep exploring the incredible world of landscape photography.
Frequently Asked Questions
What are the best practices for adjusting the white balance in landscape photos to capture the natural colors of the scene?
For me, nailing the white balance is all about capturing the mood of the scene. I adjust it to match the time of day or lighting conditions – warm for golden hours, cool for overcast skies. It’s amazing how a slight tweak can bring out the natural colors and atmosphere of the landscape.
How can I effectively remove unwanted objects or distractions from my landscape photos without leaving obvious editing traces?
I swear by the clone stamp and healing brush tools to zap unwanted objects from my landscapes. Just feather the edges and match the surrounding texture to avoid any telltale signs of editing.
What are some common mistakes to avoid when using the gradient tool in landscape photo editing to ensure a natural-looking horizon?
When using the gradient tool, I’ve found that overdoing it can lead to an unnatural-looking horizon. Avoid applying too harsh of a gradient, and instead opt for subtle adjustments that enhance the scene without overpowering it. Also, be mindful of the gradient’s direction and softness to maintain a realistic transition between sky and land.