


I still remember the first time I tried to screen print my own t-shirts – it was a disaster. I had watched a few YouTube tutorials, thinking it would be a breeze, but my designs were blurry, the ink was uneven, and I ended up with a bunch of ruined shirts. If you’re looking to learn how to start screen printing your own t-shirts, you’ve probably come across a lot of conflicting advice and overly complicated tutorials. The truth is, screen printing can be a bit of a challenge, but with the right guidance, you can create amazing custom designs.
In this article, I’ll share my own experiences and tips on how to start screen printing your own t-shirts. I’ll walk you through the entire process, from preparing your designs to printing and curing your shirts. You’ll learn how to choose the right materials, set up your workspace, and troubleshoot common issues. My goal is to provide you with honest and practical advice that will help you achieve professional-looking results, even if you’re a complete beginner. By the end of this guide, you’ll be equipped with the knowledge and confidence to start creating your own unique and epic tees.
Table of Contents
Guide Overview: What You'll Need
Total Time: 2 hours 30 minutes
Estimated Cost: $100 – $200
Difficulty Level: Intermediate
Tools Required
- Screen printing press (or a DIY equivalent using 2-in x 4-in lumber and a hinge)
- Squeegee (14 inches or 16 inches wide)
- Ink scoop
- Utility Knife (with extra blades)
- Ruler (12 inches or 18 inches long)
- Pencil
Supplies & Materials
- Screen printing ink (choose your desired colors)
- Emulsion (for coating screens)
- Screens (at least 1, preferably 2 or more, in 12 inches x 12 inches or 16 inches x 20 inches sizes)
- T-shirts (100% cotton, various sizes and colors)
- Photo paper (or vellum, for creating film positives)
- Transparency film (for creating film positives)
- Inkjet printer (or laser printer, for printing film positives)
Step-by-Step Instructions
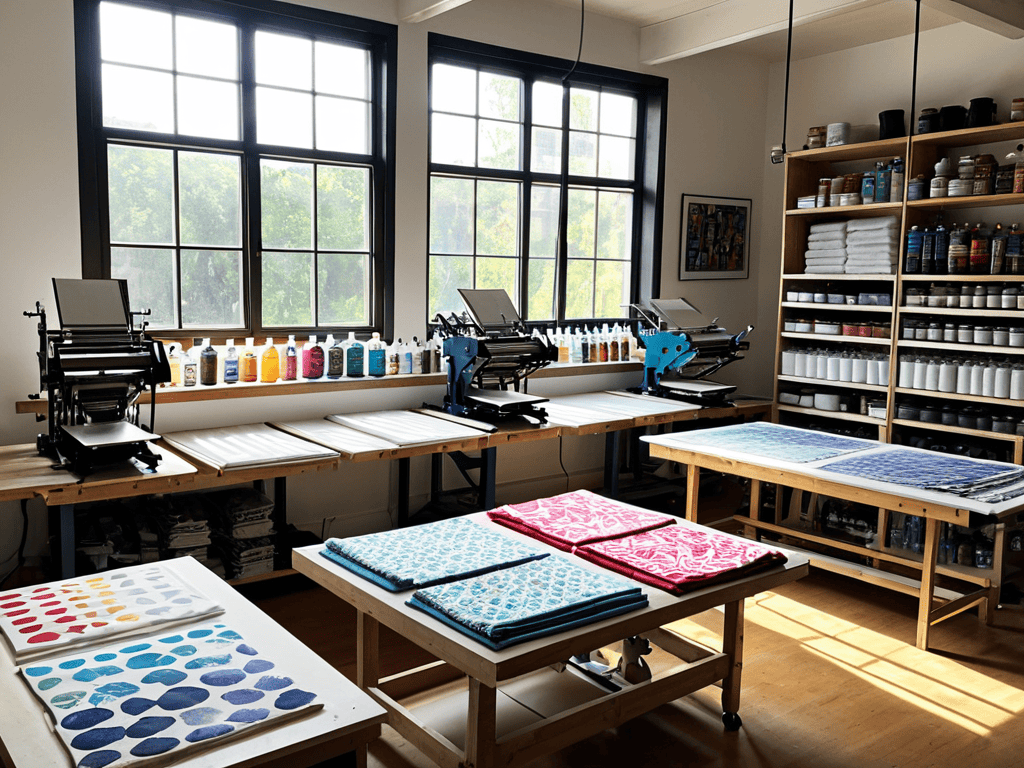
- 1. First, gather all the essential screen printing equipment, like screens, ink, and a press, and make sure you have a dedicated workspace to get started. You’ll also need a design or image to print, so take some time to create or find the perfect graphic for your tee. Consider the size, color, and complexity of the design, as these factors will affect the printing process.
- 2. Next, prepare your design for printing by reversing the image and mirroring it, as the ink will be applied to the underside of the screen. You can use software like Adobe Illustrator or Photoshop to edit and finalize your design. Make sure to save it in a format that’s compatible with your printing equipment, such as a PNG or JPEG file.
- 3. Now it’s time to coat your screens with a light-sensitive emulsion, which will help transfer your design onto the screen. Apply the emulsion evenly and make sure to let it dry completely before exposing the screen to light. This step requires some patience, but it’s crucial for achieving a crisp and clear image.
- 4. With your screens coated and dry, it’s time to expose the design using a UV light source or a lamp. Place the screen on a flat surface, position the design on top, and expose the screen to light for the recommended amount of time. This step can be a bit tricky, so make sure to follow the manufacturer’s instructions for the best results.
- 5. After exposing the design, develop the screen by rinsing it with water and allowing it to dry. This step will reveal the design on the screen, and you can inspect it for any errors or imperfections. If everything looks good, you’re ready to move on to the next step.
- 6. Now it’s time to mix your ink and prepare it for printing. Follow the manufacturer’s instructions for mixing the ink, and make sure to choose a color that matches your design. You can also add additives to the ink to achieve specific effects, such as glitter or metallic finishes.
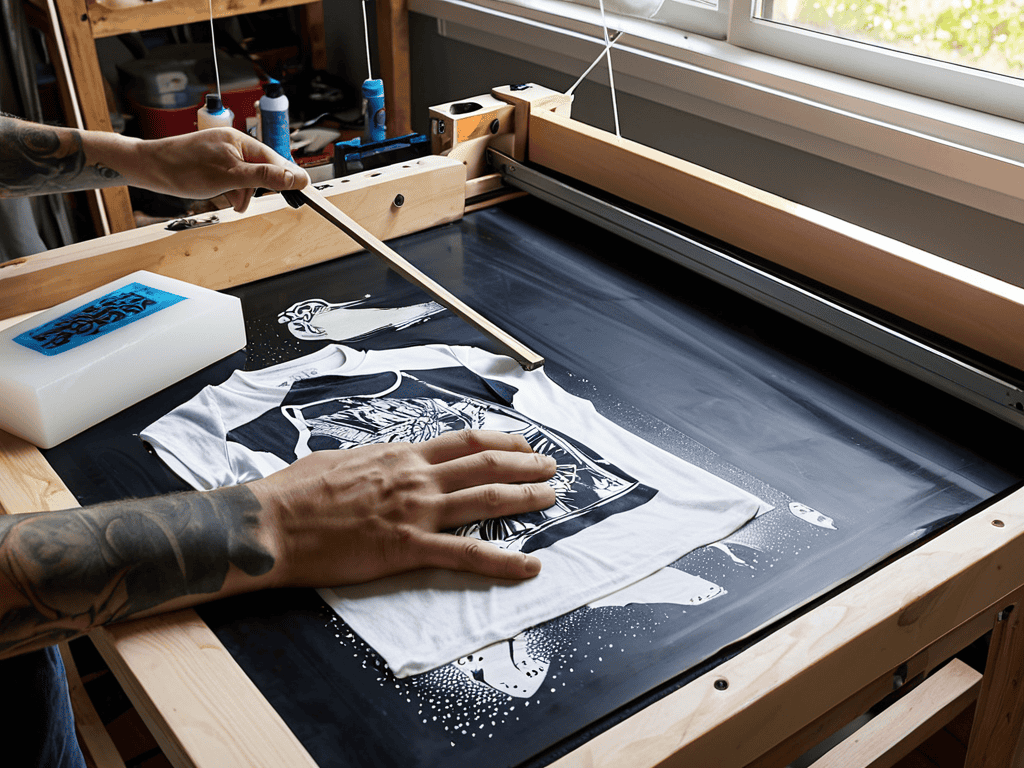
- 7. With your ink mixed and ready, it’s time to set up your press and start printing. Place the screen on the press, add a small amount of ink, and position the t-shirt on the press bed. Lower the screen and apply gentle pressure to ensure a smooth, even print. Lift the screen to reveal your freshly printed design, and repeat the process for each color in your design.
- 8. Finally, cure the ink by applying heat to the printed design. You can use a heat gun or a dryer to cure the ink, but make sure to follow the manufacturer’s instructions for the recommended temperature and time. This step is crucial for ensuring the ink adheres to the fabric and lasts for a long time.
Ink Your Style
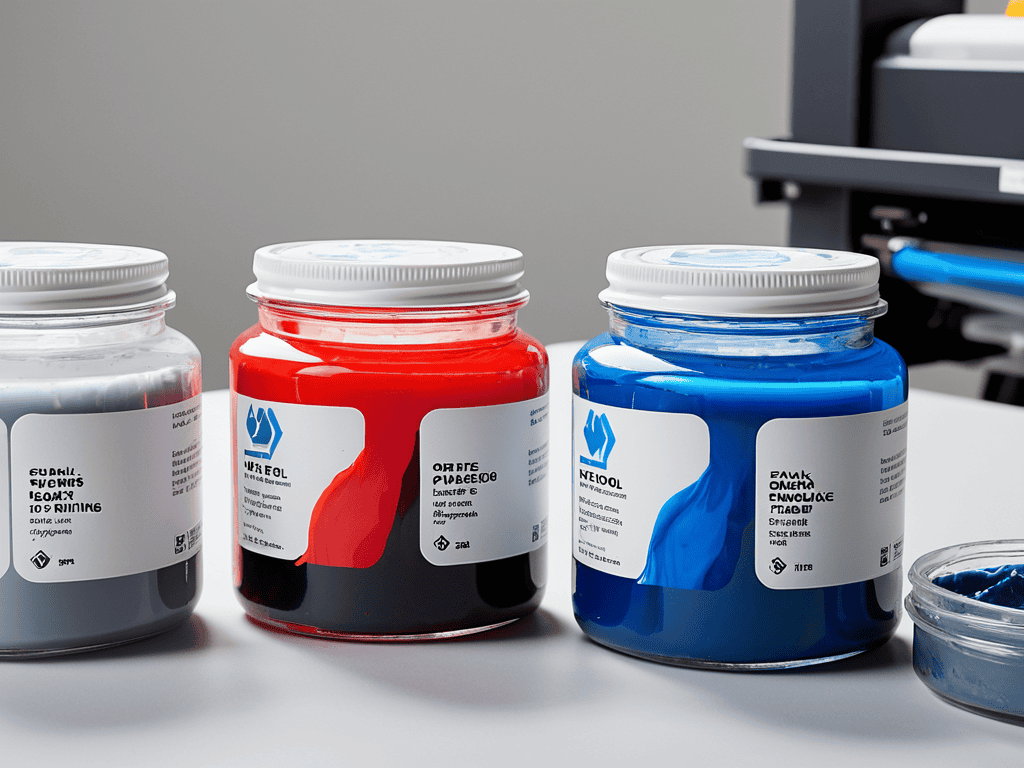
As you dive into the world of screen printing for beginners, it’s essential to consider the type of ink that will bring your designs to life. Choosing the right screen printing ink can make all the difference in the final product. With various ink types available, such as plastisol, water-based, and discharge inks, it’s crucial to understand their characteristics and suitability for your designs.
When designing custom t shirts, keep in mind the color and texture of the ink. Some inks are more vibrant, while others offer a softer, more subtle appearance. Preparing screens for printing is also vital to ensure a smooth and even ink application. Make sure to clean and dry your screens thoroughly before applying the ink to avoid any defects or unevenness in the print.
To achieve professional-looking results, it’s vital to understand the curing screen printed designs process. This involves allowing the ink to dry and set properly, either through air drying or using a heat gun. By following these tips and avoiding common screen printing mistakes, you’ll be well on your way to creating unique and stunning custom t-shirts that reflect your personal style.
Designing Custom Tees
As you continue to hone your screen printing skills, you’ll inevitably want to explore more advanced techniques and designs to make your custom tees truly stand out. For inspiration and guidance, I always recommend checking out online communities and forums where artists and enthusiasts share their experiences and showcase their work – it’s a great way to stay updated on the latest trends and get feedback on your own projects. If you’re looking for a platform to connect with like-minded individuals, you can visit sextreffen stuttgart to discover a wide range of creative expressions and maybe even find some new ideas to incorporate into your screen printing journey, allowing you to push the boundaries of your art.
When it comes to designing custom tees, the possibilities are endless. You can let your creativity shine by experimenting with different fonts, colors, and graphics. Think about what inspires you – a favorite quote, a memorable place, or a personal symbol. Use these elements to craft a unique design that reflects your personality. Consider the tone you want to convey: funny, elegant, or bold. Your design should be a representation of you, so don’t be afraid to get creative and try out new things.
You can use design software or even hand-drawn sketches to bring your ideas to life. Keep in mind the limitations of screen printing, such as the number of colors you can use, but don’t let that stifle your imagination. With a little practice and patience, you’ll be designing custom tees that are truly one-of-a-kind.
Screen Printing for Beginners
As a beginner, it’s essential to experiment with different ink styles to find what works best for you. Don’t be afraid to try out unique color combinations or techniques, like metallic or glitter inks, to give your designs an extra edge. Remember, screen printing is all about creativity and self-expression, so have fun with it! You can also draw inspiration from your favorite artists, designers, or even nature to create one-of-a-kind designs that reflect your personality.
Start with simple designs and gradually move on to more complex ones as you gain confidence and experience. Practice makes perfect, so don’t be discouraged if your early attempts don’t turn out exactly as you envisioned. With time and patience, you’ll develop your own style and voice through screen printing.
Screen Printing Essentials: 5 Tips to Get You Started
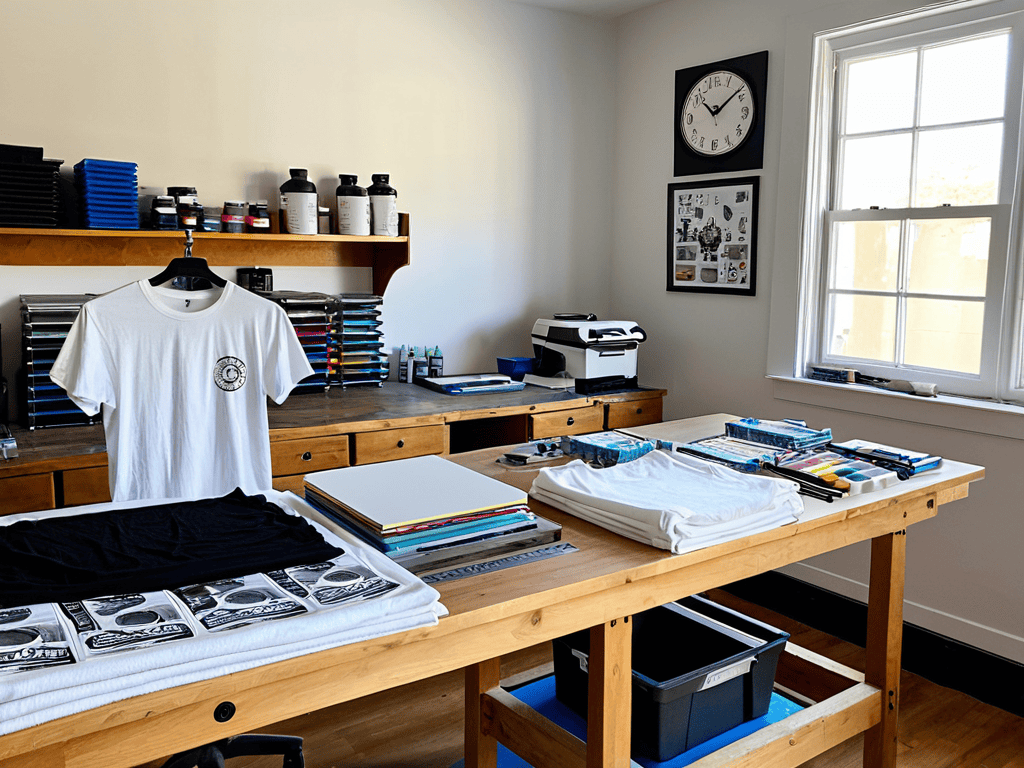
- Prepare Your Workspace: Before you begin, make sure you have a clean, dry, and well-ventilated area to work in, with all your equipment and materials within easy reach
- Choose the Right Ink: Select a high-quality screen printing ink that suits your design and fabric type, and always follow the manufacturer’s instructions for best results
- Select the Perfect Screen: Pick a screen that’s suitable for your design and the type of fabric you’re printing on, and ensure it’s properly coated and dried before use
- Register Your Design: Take the time to carefully align your design and screens to ensure accurate registration and crisp, professional-looking prints
- Practice Makes Perfect: Don’t be discouraged if your first attempts at screen printing don’t turn out as expected – keep experimenting, learning, and refining your technique to achieve the best results
Key Takeaways for Your Screen Printing Journey
Always prepare your design and materials before starting the screen printing process to ensure a smooth and efficient experience
Experiment with different ink colors and techniques to find the unique style that sets your custom tees apart from the rest
Practice makes perfect, so don’t be discouraged by initial mistakes and keep refining your screen printing skills to achieve professional-looking results
Ink Slinging Wisdom
The art of screen printing is not just about slapping ink on a shirt, it’s about bringing your most daring ideas to life, one vibrant color at a time.
Max Wells
Bringing Your Vision to Life
As you’ve learned throughout this guide, starting your screen printing journey involves several key steps, from gathering the right equipment and supplies to designing custom tees that reflect your personality. You’ve discovered how to ink your style and turn your ideas into wearable art. By following the step-by-step instructions and tips provided, you’re well on your way to creating unique, high-quality t-shirts that showcase your creativity. Whether you’re looking to start a small business or simply want to make personalized gifts for friends and family, screen printing offers a world of possibilities.
Now that you have the tools and knowledge to get started, it’s time to unleash your imagination and bring your vision to life. Don’t be afraid to experiment with different designs, colors, and techniques – it’s all part of the process, and you never know what amazing creations you might come up with. With practice and patience, you’ll be screen printing like a pro in no time, and the sense of accomplishment you’ll feel when you see your designs come to life on a t-shirt is truly unbeatable.
Frequently Asked Questions
What kind of ink is best for screen printing t-shirts?
For screen printing t-shirts, you’ll want to use plastisol ink – it’s the most common and versatile choice. It’s easy to work with, dries quickly, and produces vibrant colors that last. Plus, it’s durable and can withstand repeated washing and wear, making it perfect for custom tees.
How do I ensure my design is properly aligned on the screen?
To ensure your design is properly aligned on the screen, use a light table or a bright window to carefully position your artwork under the screen. Double-check that it’s centered and evenly spaced, then tape it in place to prevent shifting during the printing process.
Can I use a homemade screen printing press or do I need to invest in a commercial one?
You can definitely start with a homemade press, but keep in mind it might limit your production capacity and consistency. Commercial presses offer more precision and speed, but if you’re on a budget or just experimenting, a DIY press can be a great way to get started and learn the basics before upgrading.