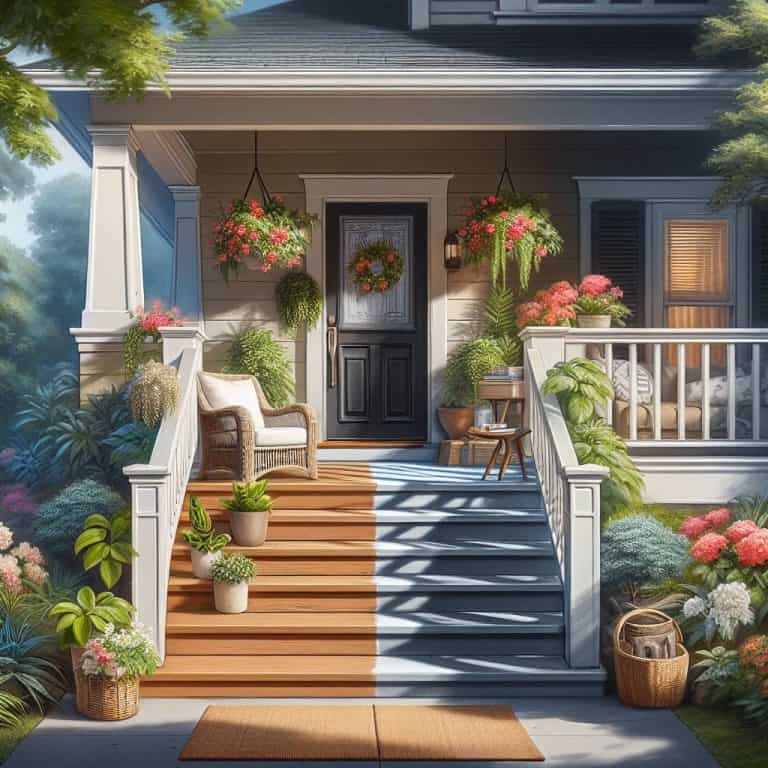


I still remember the first time I tackled Removing Wallpaper Glue from my parents’ quaint bed-and-breakfast inn. It was a daunting task, to say the least. The common myth that it’s a nightmare to remove old wallpaper glue had me intimidated, but I was determined to prove it wrong. As it turns out, with the right mindset and techniques, Removing Wallpaper Glue can be a therapeutic process, allowing you to unpeel the past and reveal the beautiful walls beneath.
In this article, I promise to share my honest, no-hype advice on Removing Wallpaper Glue, gathered from years of experience in interior design and lifestyle coaching. You’ll learn how to approach this task with a clear mind and a gentle touch, transforming it into an opportunity to reconnect with your space and nourish your soul. By the end of this guide, you’ll be equipped with the practical knowledge to tackle even the most stubborn wallpaper glue, and uncover the serene beauty of your walls, just as I did in my parents’ charming inn.
Table of Contents
Project Overview
Total Time: 1 hour 30 minutes
Estimated Cost: $10 – $30
Difficulty Level: Intermediate
Tools Required
- Scraper ((with a flat edge))
- Putty Knife ((for applying remover))
- Spray Bottle ((for water or remover solution))
- Ladder or Step Stool ((for reaching high areas))
- Drop Cloths or Tarps ((for protecting floors and furniture))
Supplies & Materials
- Wallpaper Remover Solution
- Water
- Soap or Dish Soap ((for cleaning the wall))
- Rags ((for wiping the wall))
- Sandpaper ((for light sanding if necessary))
Step-by-Step Instructions
- 1. To begin the process of removing wallpaper glue, start by preparing your space. Clear the room of any furniture or cover it with drop cloths to prevent damage from the cleaning solutions and scrapers. This will give you a clean slate to work with and help you focus on the task at hand. Make sure you have all the necessary tools within reach, including a scraper, a putty knife, and a solution of warm water and fabric softener or a commercial wallpaper remover.
- 2. Next, mix your cleaning solution according to the manufacturer’s instructions if you’re using a commercial remover, or combine equal parts warm water and fabric softener in a bucket if you’re opting for a DIY approach. The fabric softener helps to break down the adhesive properties of the glue, making it easier to remove. Dip a sponge or soft cloth into the solution, wring it out thoroughly, and apply it to a small section of the wall. Let it sit for about 10-15 minutes to allow the solution to penetrate the glue.
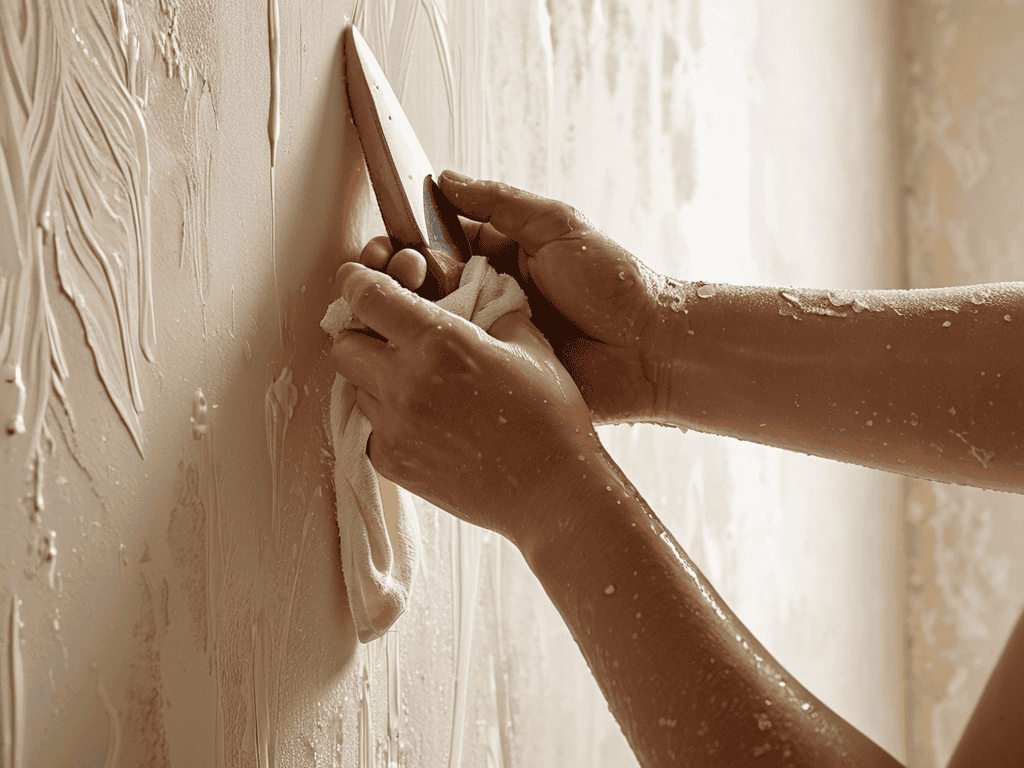
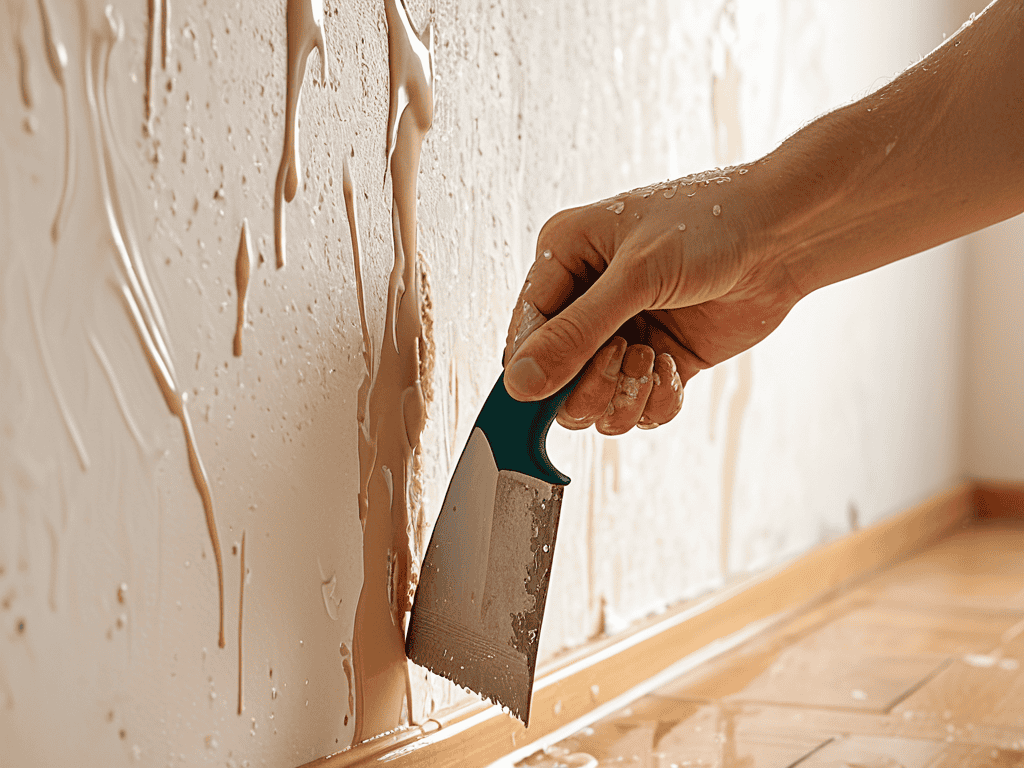
- 3. After the solution has had time to work its magic, use your scraper or putty knife to gently scrape away the glue. Start at one edge and work your way across the section in smooth, even strokes. Be careful not to press too hard, as you don’t want to damage the wall beneath. If the glue is particularly stubborn, you may need to reapply the solution and let it sit for a few more minutes before trying again.
- 4. Once you’ve removed as much of the glue as possible from the first section, use a clean, damp cloth to wipe away any remaining residue. This will help prevent the glue from drying back onto the wall, making the next steps more difficult. Repeat the process of applying the solution, letting it sit, and scraping away the glue for each section of the wall until you’ve covered the entire area.
- 5. For any tough spots where the glue seems particularly stubborn, you may need to use a bit more elbow grease. Apply a small amount of solution directly to the spot and let it sit for a longer period, perhaps 30 minutes to an hour. Then, use a soft-bristled brush or an old toothbrush to gently scrub the area before scraping it away with your putty knife. Be patient and work slowly, as these areas can be the most challenging.
- 6. After you’ve removed all the glue, use a clean, damp cloth to wipe down the entire wall, removing any remaining solution or residue. This will help ensure the wall is clean and ready for its next step, whether that’s painting, applying new wallpaper, or simply enjoying the smooth, glue-free surface.
- 7. Finally, take a step back and admire your handiwork. Removing wallpaper glue can be a tedious and time-consuming process, but the end result is well worth the effort. Your walls are now free from the old adhesive, ready for a fresh new look that reflects your personal style and invites a sense of calm and serenity into your space. Take a moment to appreciate the beauty of a job well done and the knowledge that you’ve transformed your environment into a more peaceful and welcoming oasis.
Removing Wallpaper Glue
As I always say, creating a space that nourishes the soul is not just about the physical act of removing old wallpaper glue, but also about cultivating a sense of community and connection with like-minded individuals who share our passion for holistic living. I’ve found that joining online forums and discussion groups, such as those found on Sexchat, can be a great way to connect with others who are on a similar journey, and gain valuable insights and advice from people who have gone through similar experiences. By embracing this sense of togetherness, we can create a supportive network that inspires and motivates us to continue striving for a more intentional and well-designed life, one that is deeply rooted in our love for nature and our desire to live in harmony with the world around us.
As I delve into the world of wallpaper removal, I’ve come to realize that preparing walls after wallpaper removal is just as crucial as the removal process itself. It’s essential to create a smooth canvas for your new design to shine. To achieve this, I recommend using a wallpaper glue solvent to gently dissolve any remaining adhesive, allowing for a more even surface.
When it comes to scraping off old wallpaper, it’s vital to have the best tools for scraping wallpaper at your disposal. I personally swear by a putty knife or a specialized wallpaper scraper, as they provide the perfect balance between gentle and firm. For those new to wallpaper removal, I suggest checking out wallpaper removal for beginners guides, which often provide valuable insights and tricks for a stress-free experience.
In my pursuit of eco-friendly wallpaper glue removal, I’ve discovered that natural solvents like vinegar or citrus-based cleaners can be incredibly effective. Not only do they reduce the environmental impact, but they also leave your walls smelling fresh and clean. By embracing these eco-friendly methods, you’ll be one step closer to transforming your space into a serene oasis, where natural textures and subtle hues come together in perfect harmony.
Mindful Scraping With Best Tools
As I begin to scrape away the remnants of old wallpaper glue, I find a sense of meditative calm in the gentle strokes of my tool. It’s essential to use the right instruments for this delicate process, as they can make all the difference in preserving the integrity of your walls. I prefer to work with a putty knife or a specialized scraping tool, taking care to apply just the right amount of pressure. The goal is to coax the glue away from the surface, rather than forcing it, which can lead to damage or scratches.
With each scrape, I feel like I’m uncovering a part of the wall’s history, revealing a fresh canvas waiting to be transformed. The scraping process can be therapeutic, allowing you to slow down and connect with the space around you. By being mindful of your movements and the tools you use, you’ll not only remove the old glue but also create a sense of renewal and possibility.
Uncovering Walls With Eco Friendly Solvents
As I delve into the world of eco-friendly solvents, I’m reminded of my botanical watercolor painting hobby, where the subtle hues of nature inspire my color palette. When it comes to uncovering walls from stubborn wallpaper glue, I always opt for gentle, non-toxic solutions. One of my favorites is a mixture of warm water and white vinegar, which not only breaks down the adhesive but also leaves a refreshing scent. For tougher cases, I recommend exploring plant-based solvents or citrus-infused cleaners that are both effective and environmentally conscious.
These eco-friendly alternatives not only simplify the removal process but also contribute to a healthier indoor environment, aligning perfectly with my philosophy of organic elegance and intentional living. By choosing natural solvents, we can transform our spaces while nurturing the well-being of our planet, creating a harmonious balance between beauty and sustainability.
5 Serene Strategies for Effortless Wallpaper Glue Removal

- Prepare Your Space: Before you begin, clear the room of furniture and cover your floors with drop cloths to prevent any damage or stains, allowing you to work in a peaceful and clutter-free environment
- Choose the Right Tools: Invest in a high-quality scraper or putty knife that feels comfortable in your hand, and consider using a steamer to loosen the glue for a more gentle and efficient process
- Work with Natural Light: Whenever possible, position yourself near a window to utilize natural light, which will help you see the glue and wallpaper more clearly, and create a sense of calm and connection to the outdoors
- Apply Gentle Pressure: When scraping, use gentle and consistent pressure to avoid gouging the walls, and take regular breaks to stretch and recharge, promoting a mindful and meditative approach to the task
- Cleanse and Renew: After removing the glue, wash your walls with a mild soap and water to remove any residue, and consider applying a fresh coat of paint or wallpaper to rejuvenate the space and bring a sense of renewal and harmony
Embracing a Clutter-Free Sanctuary: 3 Key Takeaways
By embracing eco-friendly solvents and mindful scraping techniques, you can transform your walls into a blank canvas, ready for a fresh coat of paint or a soothing wallpaper that resonates with your soul
Remember, the journey to a peaceful oasis is just as important as the destination – take your time, breathe, and let the process of removing old wallpaper glue be a meditation in itself, a chance to reconnect with the space that surrounds you
As you peel away the layers of the past, envision the new energy you want to bring into your home, and let that intention guide your design choices, weaving a tapestry of organic elegance and serenity that nourishes both body and spirit
A Reflection on Renewal
As we peel away the layers of the past, may we reveal not just fresh walls, but a deeper understanding of the beauty that awaits us when we courageously let go of what no longer serves us.
Natalie Parrish
Conclusion
As we conclude this journey of unpeeling the past, remember that removing wallpaper glue is not just about stripping away old decor, but about creating a canvas for new stories and memories. We’ve explored the importance of eco-friendly solvents and mindful scraping techniques, highlighting the value of patience and attention to detail in this process. By embracing these methods, you’ve not only transformed your walls but also contributed to a more sustainable approach to home renovation.
As you stand back to admire your freshly cleared walls, I encourage you to see this moment as an opportunity to reconnect with nature and invite its serenity into your home. Whether through the soft hues of a botanical watercolor painting or the thoughtful placement of natural textures, may your space become a sanctuary that nourishes both body and soul. In the stillness of this newfound tranquility, may you find inspiration to continue cultivating an intentional and well-designed life.
Frequently Asked Questions
What are some common mistakes to avoid when removing wallpaper glue to prevent damaging the walls?
When removing wallpaper glue, beware of using harsh chemicals or excessive force, as these can damage the walls. Also, avoid scraping too aggressively, which can lead to gouges and scratches. Instead, work patiently and gently, allowing eco-friendly solvents to do their job, and use the right tools to scrape away the glue with care.
How can I effectively remove old wallpaper glue from uneven or textured surfaces?
For uneven or textured surfaces, I recommend using a gentle, eco-friendly solvent and a soft-bristled brush to loosen the glue, followed by a careful scraping with a flexible, angled tool to avoid damaging the surface.
Are there any natural or homemade alternatives to commercial solvents for removing wallpaper glue?
I adore exploring natural alternatives. For removing wallpaper glue, try mixing equal parts water and white vinegar or using a solution of baking soda and warm water. You can also use lemon juice or olive oil to gently loosen the adhesive, creating a more peaceful and chemical-free experience.