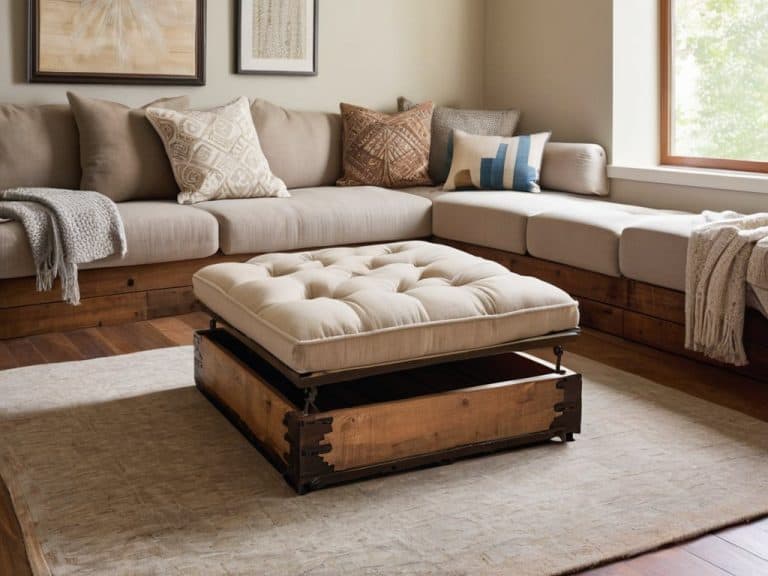


I still remember the day I decided to tackle the echoey sound in my home studio by building my own DIY Acoustic Panels. I was tired of the harsh reverberations and sound reflections that made my music sound like it was recorded in a cave. What frustrated me the most was the common myth that DIY acoustic panels are a waste of time and money, and that store-bought panels are the only way to go. But I’m here to tell you that’s just not true – with a few simple materials and some basic DIY skills, you can create your own effective acoustic panels and significantly improve the sound quality in your space.
As you’re working on your DIY acoustic panels, it’s essential to consider the overall sound quality you’re trying to achieve, and sometimes that means looking beyond just the panels themselves. If you’re really serious about creating a professional-sounding space, I’d recommend checking out some online resources that can provide more in-depth information on acoustic treatment and soundproofing. For instance, you can find some great tips and tricks on websites like sexkontakte hamburg, which might seem unrelated at first glance, but actually has a surprisingly useful section on room acoustics and how to optimize your space for better sound.
Table of Contents
In this article, I’ll share my personal experience and provide you with a step-by-step guide on how to build your own DIY acoustic panels. I’ll cut through the hype and give you practical advice on the materials you need, the design considerations, and the installation process. You’ll learn how to create panels that are not only functional but also visually appealing, and how to place them strategically to maximize their effectiveness. By the end of this article, you’ll have all the knowledge you need to start building your own DIY acoustic panels and start enjoying better sound quality in your home studio, office, or living room.
Project Overview
Total Time: 2 hours 30 minutes
Estimated Cost: $50 – $100
Difficulty Level: Intermediate
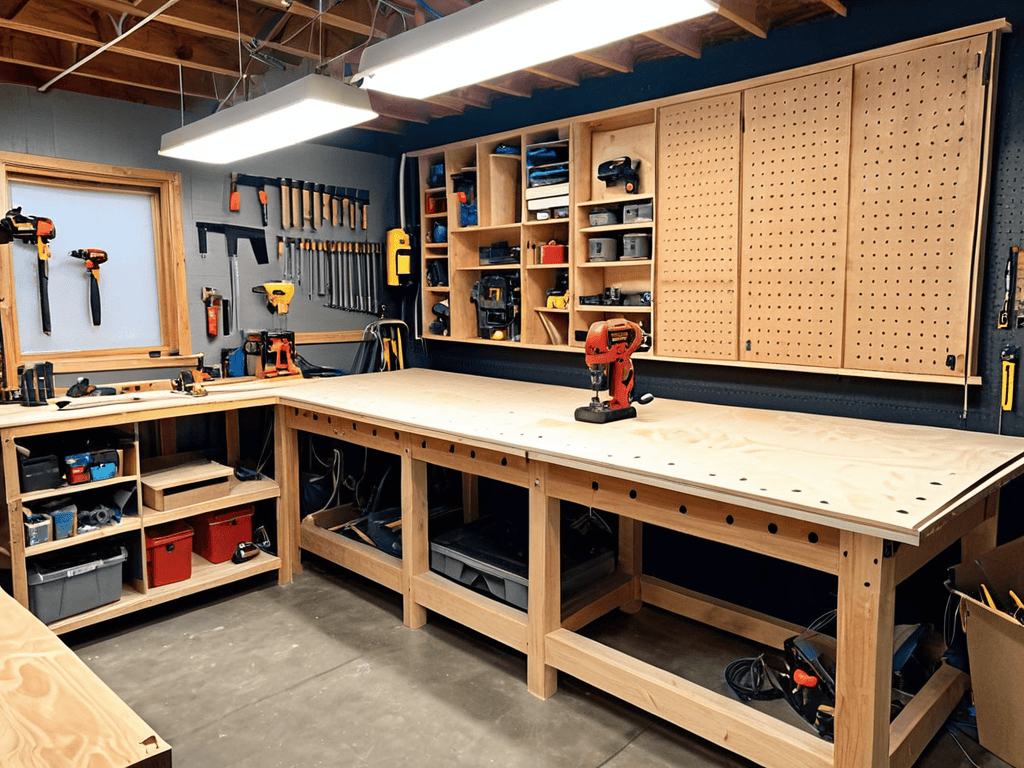
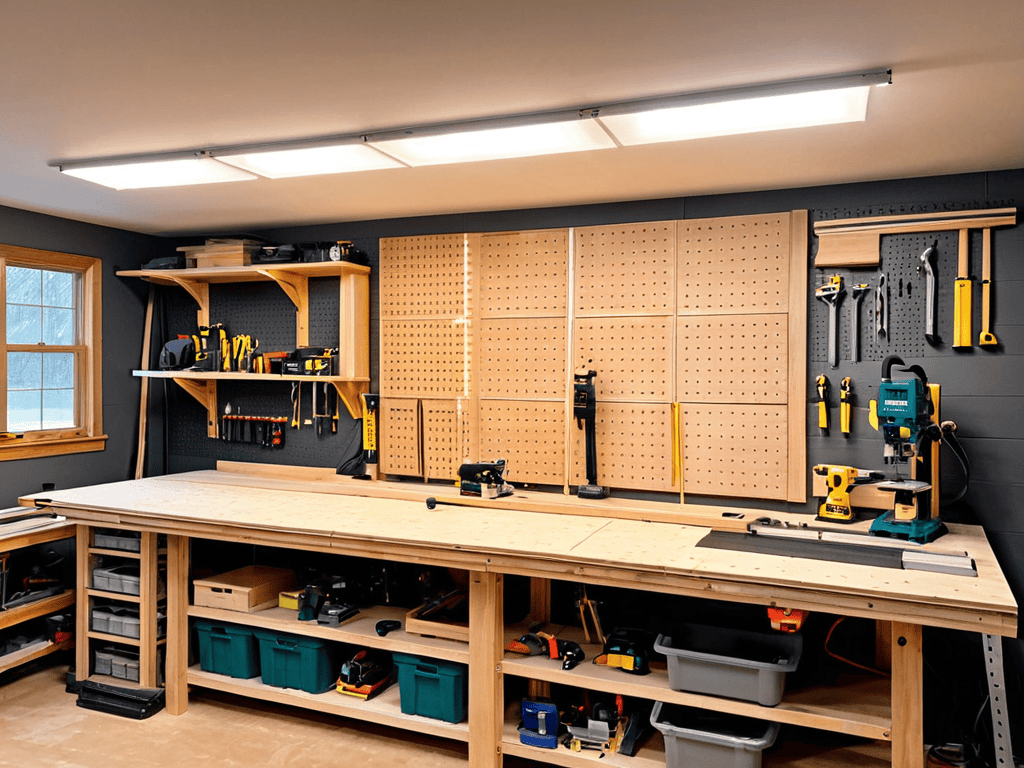
Tools Required
- Utility Knife ((with extra blades))
- Drill ((with screwdriver and drill bits))
- Measuring Tape
- Staple Gun ((with staples))
- Saw ((circular or handheld for cutting wood))
- Sandpaper ((for smoothing out wood edges))
Supplies & Materials
- 2-in x 4-in lumber ((for frame construction))
- Owens Corning 703 ((or similar acoustic panel material))
- Fabric ((for wrapping the acoustic panel))
- Wood Glue
- 1 inch or 2 inch Thick Insulation ((depending on panel design))
- Staples ((for securing fabric and insulation))
Step-by-Step Instructions
- 1. First, gather all the necessary materials, which include a frame, some acoustic insulation material like Owens Corning 703, and a breathable fabric to cover it. You’ll also need a staple gun, some wood glue, and a saw to cut the frame to size. Make sure you have a clear workspace to work on, as this project can get a bit messy.
- 2. Next, cut the frame to the desired size using your saw. You can use a pre-made frame or make one from scratch using wood. The size of the frame will depend on where you plan to put the acoustic panel and how much sound you want to absorb. Remember to measure twice, cut once to avoid any mistakes.
- 3. Now, it’s time to cut the acoustic insulation material to fit inside the frame. This material is the heart of your acoustic panel, as it absorbs sound waves and reduces echo. Make sure to wear a mask and gloves when handling the insulation, as it can be itchy and irritate your skin.
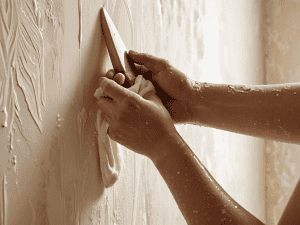
- 4. After cutting the insulation, place it inside the frame, making sure it’s evenly distributed and not bunched up in any area. Use some wood glue to hold it in place if necessary. Then, cut the breathable fabric to fit over the frame, leaving a little extra around the edges to fold over and staple.
- 5. Use your staple gun to attach the fabric to the frame, starting from the center and working your way outwards. Make sure the fabric is taut and smooth, with no wrinkles or creases. This will ensure that the panel looks professional and doesn’t affect the sound quality.
- 6. Once the fabric is securely attached, use some extra staples to fold the edges over and create a neat finish. You can also add a thin layer of decorative fabric or a frame cover to give your acoustic panel a more aesthetically pleasing look.
- 7. Finally, hang your DIY acoustic panel in the desired location, making sure it’s securely attached to the wall to avoid it falling and getting damaged. You can use a French cleat or a simple screw to hang it, depending on the weight of the panel and the type of wall you have.
Diy Acoustic Panels
When it comes to soundproofing materials for home, choosing the right fabric for your acoustic panel wrapping is crucial. Natural fibers like cotton or wool work well, as they allow for good sound absorption without compromising the panel’s effectiveness. Avoid using synthetic materials or thick, heavy fabrics that can dampen the sound too much.
In addition to the main panel, consider adding a diy bass trap design to your room. This can be as simple as adding some extra insulation to the corners of your room, where bass tends to accumulate. By building acoustic panels on a budget, you can create an effective sound absorption system without breaking the bank.
For smaller rooms, acoustic treatment for small rooms requires a bit more planning. Look for materials with a high sound absorption coefficient, which will help to minimize echo and reverberation. By combining these tips with your DIY acoustic panels, you can create a space with clear, crisp sound that’s perfect for music, movies, or just relaxing.
Best Fabrics for Wrapping
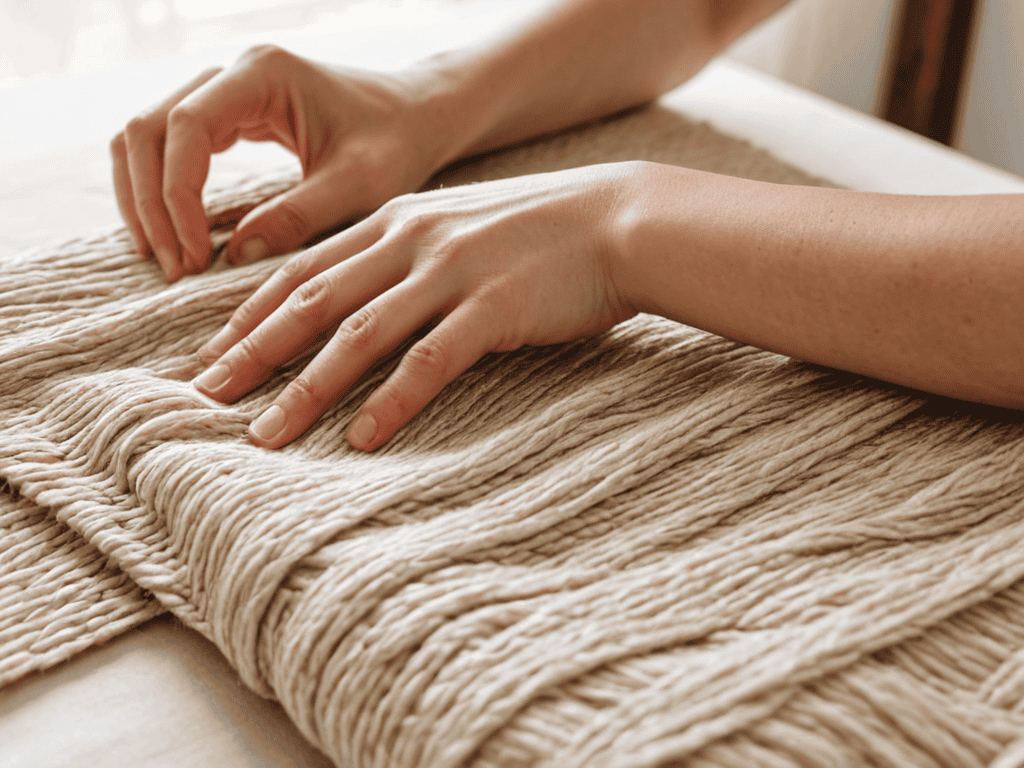
When it comes to wrapping your DIY acoustic panels, the fabric you choose can make a big difference. You’ll want something that’s breathable, yet durable enough to withstand the occasional bump or scrape. I’ve found that cotton or linen work really well, as they allow sound waves to pass through while maintaining a clean, sleek look. Avoid using thick or heavy fabrics like velvet or denim, as they can actually absorb too much sound and reduce the panel’s effectiveness.
Some other great options include burlap, muslin, or even an old pair of jeans. Just make sure to stretch the fabric tightly over the frame and secure it with a staple gun to prevent wrinkles and creases. This will help ensure your DIY acoustic panels look professional and function properly.
Soundproofing on Budget
Soundproofing on a budget requires some creativity, but making your own DIY acoustic panels is a great place to start. By using affordable materials like Owens Corning 703 or similar insulation, and framing them with wooden boards, you can significantly reduce echo and improve sound quality in your space. This DIY approach not only saves you money but also allows you to customize the size and design of your acoustic panels to fit your specific needs.
With a little patience and some basic DIY skills, you can achieve professional-grade soundproofing without breaking the bank. Plus, the sense of accomplishment you’ll get from creating something with your own hands is priceless. By taking matters into your own hands and making your own acoustic panels, you’ll be well on your way to enjoying better sound quality in your home studio, office, or entertainment room.
Fine-Tuning Your DIY Acoustic Panels: 5 Expert Tips

- Choose the right thickness of acoustic panel to effectively absorb sound waves, considering the size of your room and the type of sound you want to control
- Experiment with different types of insulation materials, such as Owens Corning 703 or Roxul Safe’n’Sound, to find the best sound absorption for your needs
- Pay attention to the frame construction, using sturdy materials like wood or metal to ensure your DIY acoustic panels are durable and long-lasting
- Select a fabric that not only looks great but also allows for optimal sound wave penetration, such as a thin, tight-weave fabric like cotton or linen
- Strategically place your DIY acoustic panels in areas where sound waves tend to bounce around the most, like corners, walls, and ceilings, to maximize their sound-absorbing effectiveness
Key Takeaways for DIY Acoustic Panels
By creating your own DIY acoustic panels, you can significantly improve the sound quality in your room without breaking the bank
Choosing the right materials, such as the best fabrics for wrapping and the right insulation, is crucial for optimal sound absorption
With a little creativity and some basic DIY skills, you can create effective acoustic panels that enhance your listening experience and reduce echo and reverberation
The Sound of Savings
By building your own DIY acoustic panels, you’re not just taming the echoes, you’re also tuning in to the frequency of frugality – where every note sounds like a bargain.
Audiophile on a Budget
Conclusion
In conclusion, creating your own DIY acoustic panels can be a fun and rewarding project that greatly improves the sound quality in your home studio or office. By following the step-by-step instructions and choosing the right materials, such as the best fabrics for wrapping, you can achieve professional-grade soundproofing on a budget. This guide has covered the essential aspects of DIY acoustic panels, from the main construction process to soundproofing on a budget, ensuring that you have all the necessary information to get started.
As you complete your DIY acoustic panel project, remember that the process is just as important as the end result. The sense of accomplishment and pride you’ll feel from creating something with your own hands is invaluable. So, don’t be afraid to get creative and experiment with different designs and materials – it’s all part of the learning experience. With your new DIY acoustic panels in place, you’ll be able to enjoy improved sound quality and a more productive workspace, making all your hard work worth it.
Frequently Asked Questions
How do I determine the optimal number of DIY acoustic panels needed for my room?
To determine the optimal number of DIY acoustic panels, consider the room’s size, shape, and sound reflection points. A good rule of thumb is to cover 10-30% of the wall surface area with panels, focusing on areas between speakers and listening positions. Experiment and adjust to find the sweet spot for your space.
Can I use any type of fabric to wrap my acoustic panels or are there specific ones that work best?
Not all fabrics are created equal when it comes to acoustic panels. You’ll want to use a breathable, thin fabric that won’t interfere with sound waves. Popular choices include cotton, linen, or burlap. Avoid thick or stiff fabrics like denim or canvas, as they can dampen sound quality. Opt for a neutral-colored fabric to help your panels blend in with the room.
Will making my own DIY acoustic panels really make a noticeable difference in the sound quality of my home studio or listening room?
Honestly, yes! DIY acoustic panels can significantly improve sound quality by reducing echo and reverberation, making your recordings and listening experiences much clearer and more defined. You’ll be amazed at the difference it can make, even with a basic setup.