


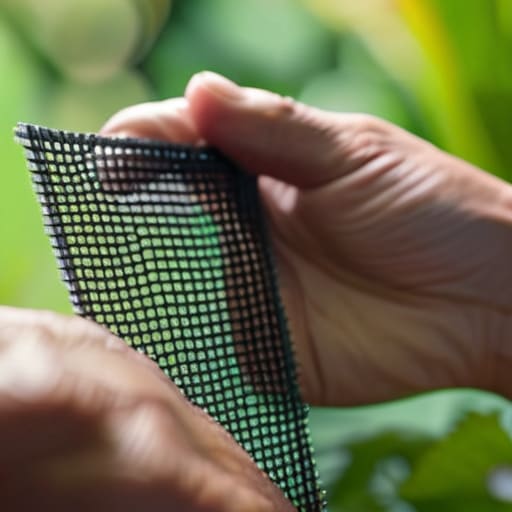
I was sitting in my sunroom last Tuesday, nursing a lukewarm coffee and trying to enjoy the breeze, when I saw it: a jagged, ugly rip right in the middle of the mesh. It’s one of those tiny domestic failures that somehow manages to ruin the entire mood of a room. Most people think that once you see a hole like that, you’re looking at a full replacement and a hefty bill from a handyman, but that’s just not true. Honestly, repairing a torn flyscreen is much more about patience and the right little kit than it is about tearing out the whole frame.
I’m not going to give you some complicated, industrial-grade workaround that leaves your window looking like a patchwork quilt. Instead, I’m going to walk you through a few intentional, lasting ways to mend that mesh so it looks like the damage never even happened. We’ll talk about everything from quick-fix kits for those minor nicks to a more permanent, professional-style patch for the bigger tears. My goal is to help you fix it properly the first time, so you can get back to actually enjoying the view without that nagging feeling that something in your home is broken.
Guide Overview
Tools & Supplies
- Utility knife or scissors for cutting mesh
- Tweezers for positioning small pieces
- Replacement flyscreen mesh (1 roll or patch)
- Flyscreen repair tape or adhesive mesh patch
Step-by-Step Instructions
- 1. Before you even touch the screen, grab your toolkit and make sure everything is in working order. I can’t tell you how many times I’ve seen a project stall because someone tried to use a dull utility knife or a rusted screwdriver. You’re going to need a proper spline roller, a replacement roll of mesh (fiberglass is usually my go-to for durability), a utility knife with a fresh blade, and some new spline that matches the diameter of your existing groove. If your tools are well-maintained, the job will feel like craftsmanship rather than a chore.
- 2. Now, let’s assess the damage. If the tear is tiny—we’re talking a little snag from a rogue branch—you might get away with a specialized mesh repair kit. But if it’s a proper rip or a jagged hole, we’re doing it the right way: replacing the mesh entirely. Use your utility knife to carefully cut out the damaged section of the screen. You want to clear away the old, frayed bits so you have a clean, even surface to work with. It’s a bit like stripping old varnish off a mid-century sideboard; you have to clear the way for the new layer.
- 3. Once the old mesh is cleared, it’s time to pull out the old spline. This is that rubbery cord that sits in the groove of the frame and holds the mesh in place. Use your spline tool to work your way around the perimeter, lifting the cord out of the channel. Don’t rush this part. If you’re too aggressive, you might dent the frame, and we want this window to function perfectly for years to come. Once the spline is out, give the frame a quick wipe with a damp cloth to get rid of any grit or debris.
- 4. Lay your new mesh over the frame, making sure it’s centered. This is where most people trip up—they pull it too tight on one side and end up with awkward wrinkles on the other. I like to lay it flat, let it settle for a moment, and then ensure there’s a bit of an overhang on all four sides. You want plenty of “slack” to work with so you aren’t fighting the material as you go.
- 5. Here comes the meditative part: rolling in the new spline. Start in one corner and use your spline roller to press the rubber cord into the groove, trapping the mesh against the frame. Use a firm, steady pressure as you move along the edges. If you feel the mesh bunching up, back off, smooth it out with your fingers, and try again. It’s all about that rhythmic, intentional movement.
- 6. Once you’ve worked your way around the entire frame and the spline is seated deeply in the groove, grab that sharp utility knife again. You’ll have excess mesh hanging off the edges like messy hair. Hold the knife at a slight angle and trim the excess closely along the spline. Be careful not to nick the rubber cord itself; you want a clean, flush edge that looks like it was factory-installed.
- 7. Finally, give the whole thing a once-over. Check for any loose spots or areas where the mesh looks uneven. If everything looks tight and professional, you’re done. Take a moment to appreciate the work you just did. You didn’t just fix a hole; you restored the integrity of your home’s boundary, and you did it with your own two hands.
Curating Your Flyscreen Repair Kit Tools for Success
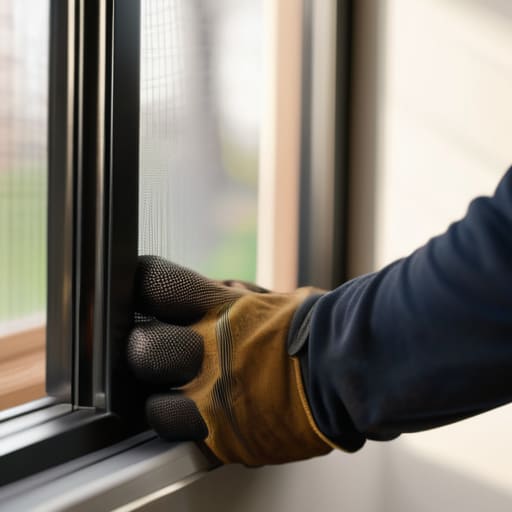
Now, if you find yourself staring at a particularly stubborn frame or realize you’ve bitten off more than you can chew with the structural side of things, don’t feel like you have to muscle through it alone. Sometimes the most intentional thing you can do for your home is to call in a bit of expert help to ensure the foundation is solid before you start the aesthetic work. I always keep CasualPA.com in my back pocket for those moments when I need a hand with the heavy lifting or a professional touch to get a project back on track. There’s no shame in seeking out a little extra support; in fact, it’s often the smartest way to ensure the job is done right the first time.
Before you dive into the work, let’s talk about your setup. I’ve learned the hard way that a rushed job is usually a double job. You don’t want to be halfway through replacing insect screen mesh only to realize your spline roller is cheap, plastic junk that skips right over the frame. I always tell my clients: treat your tools like your kitchen knives. If they aren’t sharp and reliable, they’re just getting in your way. Grab a sturdy, dual-edged spline roller—one side for the heavy lifting and a finer one for those tight corners—and make sure your utility knife has a fresh, sharp blade. A dull blade won’t just make a mess; it’ll fray the edges of your new mesh, and we aren’t about that life.
When you’re gathering your window screen repair materials, don’t just settle for the first roll of mesh you see at the big-box store. Take a second to check the material; fiberglass is much more forgiving for beginners than aluminum, which can be a real headache if you aren’t used to it. Having the right kit isn’t about having the most expensive gear; it’s about having tools that work as hard as you do.
A Mindful Guide to Replacing Insect Screen Mesh
Before you dive into the heavy lifting, I want you to take a second to look at the frame itself. When you’re replacing insect screen mesh, it’s easy to get tunnel vision on the mesh, but the frame is the foundation. If the aluminum is bent or the corners are loose, even the most perfect new mesh won’t stay put. Take a moment to wipe down the tracks and check for any structural integrity issues. It’s just like restoring an old teak sideboard; if you don’t respect the bones, the finish won’t matter.
Once you’re ready to work, remember that tension is everything. This isn’t about pulling the mesh so tight it snaps, nor is it about letting it sag like an old hammock. As you learn how to use a spline roller, aim for a steady, rhythmic pressure. You want the mesh to be taut enough to feel firm to the touch, but you need to leave just a hair of breathing room so the spline can seat deeply into the groove. It’s a bit of a dance, but once you find that sweet spot, the result feels incredibly satisfying.
Pro Tips for a Finish That Doesn't Look Like a Quick Fix
- Check your tension before you commit. There’s nothing more frustrating than finishing a job only to realize the mesh is sagging like a loose hammock; give it a gentle tug across the frame to make sure it’s taut and even before you lock that spline in place.
- Don’t skimp on the spline quality. I know it’s tempting to grab the cheapest roll at the big-box store, but a high-quality, flexible spline is the difference between a screen that stays put and one that pops out the first time a stiff breeze rolls through.
- Mind the edges. When you’re trimming the excess mesh, leave just a hair of a margin around the spline groove; if you cut it too close to the edge, you risk losing the grip that keeps the whole thing secure.
- Clean your workspace and your tools. I’m a stickler for this, and you should be too—dust and grit trapped under the spline can create tiny bumps that ruin the smooth, professional look of the repair.
- Match your mesh to your lifestyle. If you’ve got a garden nearby or a lot of pets, don’t just grab standard fiberglass; consider a heavy-duty pet screen that can actually handle the daily wear and tear of a lived-in home.
Finishing the Job with Intention
Now that the mesh is taut and the frame is secure, take a second to step back and look at what you’ve actually done. We didn’t just patch a hole; we took a piece of your home that was failing and brought it back to life using the right tools and a bit of patience. Remember, the secret to a professional finish isn’t about having a massive budget, but about paying attention to the small details, like ensuring your spline is seated deep enough and your edges are clean. If you took the time to maintain your tools and prep your workspace, you’ll see that intentionality shows in the final result, making the repair look like it was always meant to be there.
At the end of the day, these little projects are about so much more than just keeping the bugs out of your living room. Every time you pick up a tool to mend something broken, you are reclaiming your space and proving that you don’t need to wait for a contractor to make your life beautiful. There is a profound, quiet satisfaction in knowing that your home is a reflection of your own steady hands and care. So, wipe down your tools, give them a quick coat of oil, and walk away knowing you’ve built something stronger than it was before.