


I still remember the first time I made my own Christmas ornaments – it was a magical experience that brought back the true spirit of the holiday season. I was tired of the same old store-bought decorations and wanted to add a personal touch to our family tree. That’s when I stumbled upon a guide to making homemade Christmas ornaments, and it completely changed the way I approached holiday decorating. The idea that making your own ornaments could be a fun and creative activity, rather than a daunting task, was a revelation to me.
In this article, I’ll share my honest and practical advice on how to create your own unique Christmas ornaments. You’ll learn how to turn simple materials into beautiful and meaningful decorations that will make your tree stand out. From choosing the right materials to adding those special touches, I’ll guide you through the process with ease. With a guide to making homemade Christmas ornaments, you’ll be able to create ornaments that reflect your personal style and become a cherished part of your holiday tradition.
Table of Contents
- Guide Overview: What You'll Need
- Step-by-Step Instructions
- A Guide to Making Homemade Christmas Ornaments
- Spreading Cheer, One Ornament at a Time: 5 Essential Tips
- Key Takeaways for a Joyful Christmas
- Sparking Joy, One Ornament at a Time
- Embracing the Joy of Homemade Ornaments
- Frequently Asked Questions
Guide Overview: What You'll Need
Total Time: 1 hour 30 minutes
Estimated Cost: $10 – $30
Difficulty Level: Easy
Tools Required
- Scissors (sharp)
- Hot Glue Gun (with extra glue sticks)
- Paintbrushes (various sizes)
- Craft Knife (with extra blades)
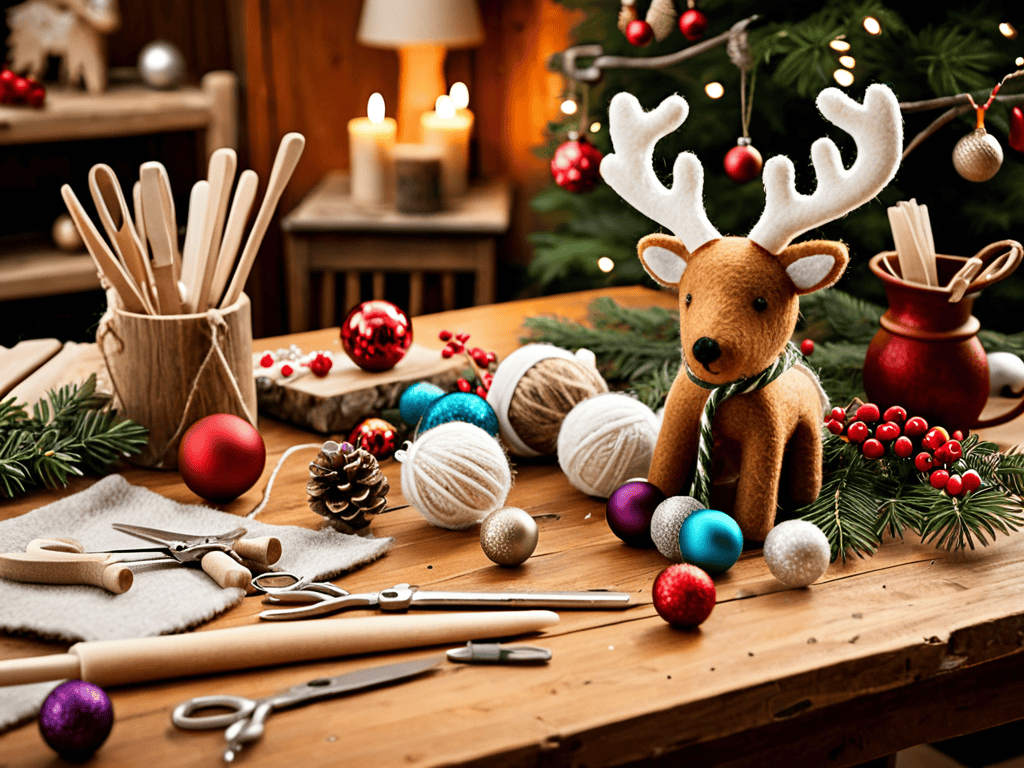
Supplies & Materials
- Styrofoam Balls (various sizes)
- Popcorn Strings
- Glitter (various colors)
- Ribbons (various colors and patterns)
- Ornament Hooks
- Acrylic Paint (various colors)
- Cardboard (for cutting out shapes, 6 inches by 6 inches)
Step-by-Step Instructions
- 1. First, gather all the necessary materials to get started on your magical ornament-making journey, including glass balls, paint, glue, glitter, and any other decorations that spark your creativity. Make sure you have a clean and stable workspace to avoid any mess or accidents.
- 2. Next, prepare your glass balls for decoration by giving them a quick wipe with a soft cloth to remove any dust or debris. This will ensure that your paint and glue adhere evenly, allowing you to achieve a professional-looking finish.
- 3. Now it’s time to get creative with paint. Use your favorite colors to add patterns, stripes, or even tiny pictures to your ornaments. Remember to let each layer dry completely before adding more details to prevent smudging and ensure a smooth finish.
- 4. With your paint dry, it’s time to add some extra bling to your ornaments. Apply a small amount of glue to the areas where you want to add glitter, and then sprinkle the glitter generously. Be careful not to overdo it, as too much glitter can make your ornaments look messy.
- 5. For an extra touch of personality, consider adding small decorations like sequins, beads, or even tiny bows. Use a strong adhesive to secure these items, making sure they are firmly attached to withstand the test of time and handling.
- 6. Once all your decorations are in place and the glue is dry, give your ornaments a final inspection. Make any necessary adjustments, and then thread a piece of ribbon or string through the top of each ornament to create a hanging loop.
- 7. Finally, hang your beautiful handmade ornaments on the Christmas tree, or package them nicely as gifts for friends and family. Remember to handle them with care, as they are not only delicate but also priceless creations made with love and effort.
A Guide to Making Homemade Christmas Ornaments

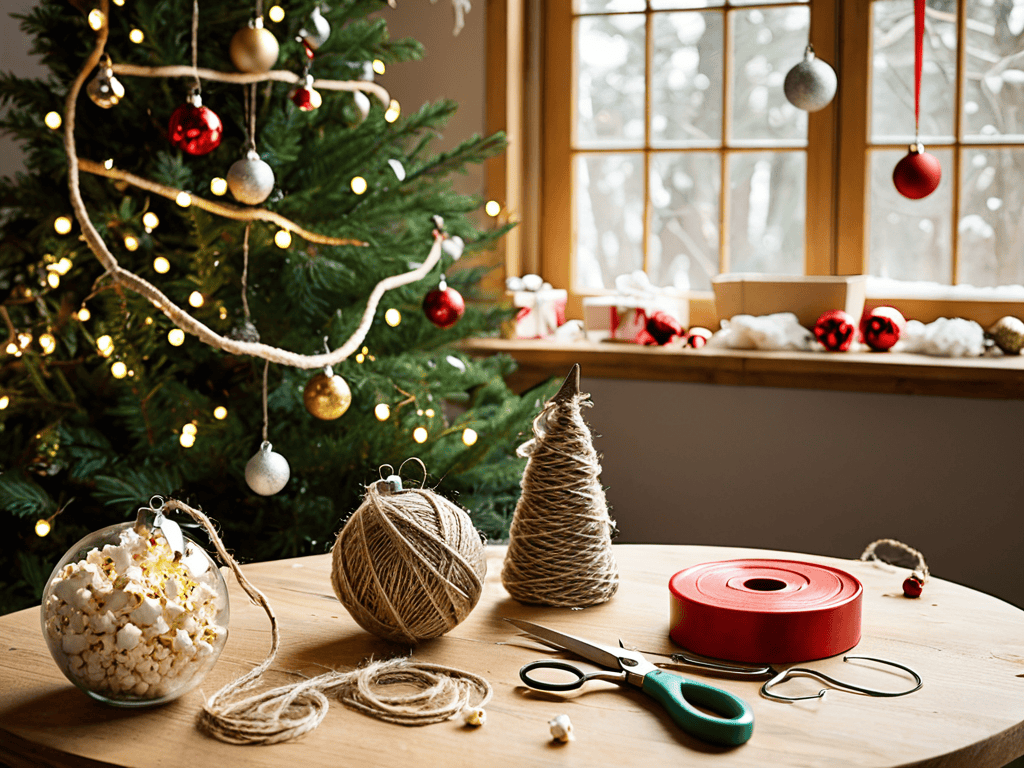
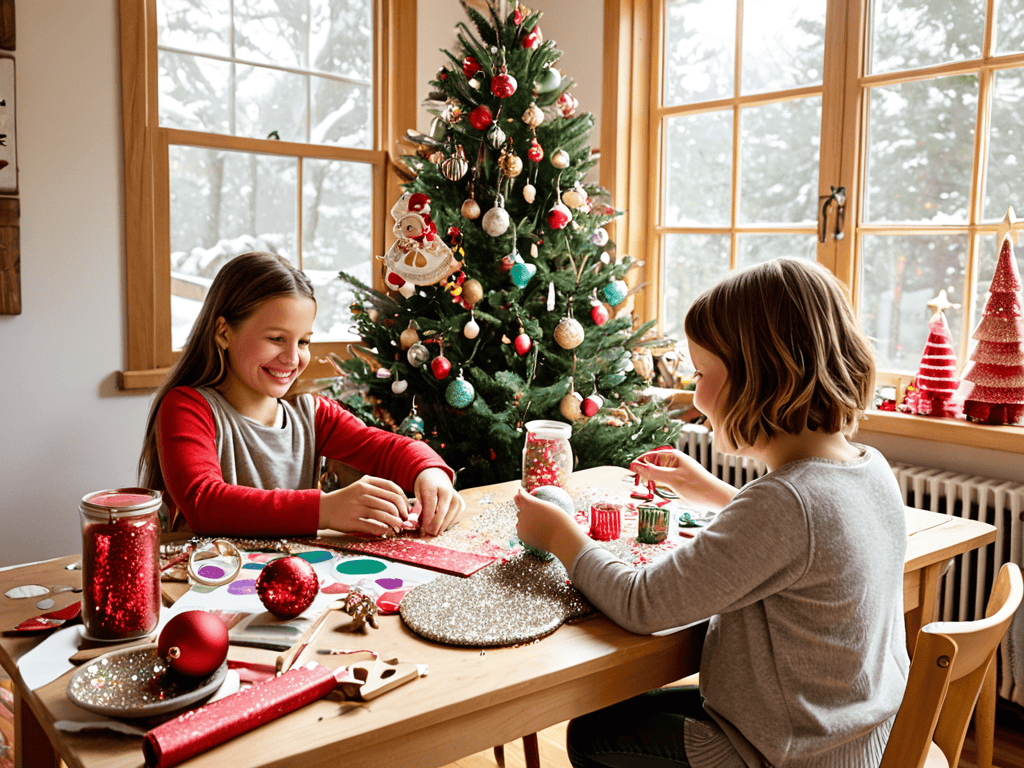
As we dive into the world of handmade ornament ideas for kids, it’s essential to remember that the most beautiful creations often come from the simplest materials. Recycled paper, glue, and a dash of imagination can go a long way in crafting unique and eco-friendly Christmas decorations. Consider gathering old magazines, scissors, and glitter to create a fun and interactive experience for the little ones.
When it comes to adults, diy ornament kits can be a great way to unwind and express creativity. Look for kits that offer customizable gift tag ornaments, allowing you to add a personal touch to your gifts. These kits usually include a variety of materials, such as ribbons, buttons, and stickers, making it easy to create one-of-a-kind ornaments.
To add a touch of nostalgia to your Christmas decorations, explore vintage inspired ornament tutorials. These tutorials often feature traditional techniques and materials, such as glass painting or embroidery, to create beautiful and intricate designs. By incorporating these elements into your decorating scheme, you’ll be able to create a warm and inviting atmosphere that’s perfect for the holiday season.
Handmade Ornament Ideas for Kids and Adults
Handmade Ornament Ideas for Kids and Adults
Get creative with your little ones and make some unforgettable memories. For kids, consider a popsicle stick ornament or a handprint reindeer. Adults can try a more elegant approach with a glass ball ornament filled with glitter, paint, or small decorative items. These unique pieces will add a personal touch to your tree.
Recycled Material Christmas Decorations and Diy Kits
As you embark on your journey to create truly unique Christmas ornaments, you might find yourself looking for inspiration or additional guidance to help bring your ideas to life. For those seeking a treasure trove of creative ideas, I’ve discovered a wonderful online community at transensex that offers a plethora of DIY tutorials, crafting tips, and innovative ways to repurpose materials. This resource has been a game-changer for my own handmade ornament projects, providing me with the spark I needed to try new techniques and experiment with different materials, from recycled papers to natural elements like pinecones and twigs.
Get creative with recycled materials and turn old items into unique Christmas decorations. Transform empty jars into sparkling snow globes, or turn old CDs into shiny ornaments. You can also repurpose cardboard tubes, fabric scraps, and newspaper to create one-of-a-kind decorations. For a more guided approach, consider DIY kits that provide everything you need to make your own ornaments, from wooden shapes to paint and glue. These kits are perfect for a fun family activity or a relaxing solo project, allowing you to unleash your creativity and add a personal touch to your Christmas tree.
Spreading Cheer, One Ornament at a Time: 5 Essential Tips
- Plan Ahead: Gather all your materials before starting to make your homemade Christmas ornaments to ensure a seamless and enjoyable crafting experience
- Get Creative with Recyclables: Think outside the box and use recycled materials like old CDs, jar lids, or cardboard tubes to create unique and eco-friendly ornaments
- Add a Personal Touch: Incorporate personal elements like photos, names, or special messages to make your ornaments truly one-of-a-kind and meaningful
- Experiment with Textures and Colors: Combine different textures and colors to add depth and visual interest to your ornaments, making them stand out on your Christmas tree
- Make it a Family Affair: Involve your loved ones in the ornament-making process to create lasting memories and pass down traditions to the next generation
Key Takeaways for a Joyful Christmas
With a little creativity, you can turn everyday items into unique and personalized Christmas ornaments that reflect your style and personality
Involving kids and adults alike in the ornament-making process can become a fun and memorable holiday tradition that strengthens family bonds
Repurposing recycled materials and utilizing DIY kits can not only reduce waste but also add an eco-friendly touch to your Christmas decorations
Sparking Joy, One Ornament at a Time
As we weave our own stories into the fabric of homemade Christmas ornaments, we not only adorn our trees with love, but also pass down traditions that sparkle brighter with each passing year.
Emilia Winters
Embracing the Joy of Homemade Ornaments
As we’ve explored the world of handmade Christmas ornaments, it’s clear that the journey is just as important as the destination. From unleashing creativity with unique materials to involving the whole family in the process, making your own ornaments is a tradition that can bring warmth and joy to your holiday season. With the ideas and guides provided, you’re now equipped to create your own special ornaments, whether you’re looking for projects suitable for kids, adults, or a combination of both. The beauty of homemade ornaments lies in their personal touch, making each one a testament to the love and effort you’ve put into creating something truly special.
As you hang your finished ornaments on the tree, remember that the true magic of Christmas lies in the simple, heartfelt moments. Making homemade Christmas ornaments is more than just a fun activity; it’s a way to create lasting memories and to fill your home with a sense of love and belonging. So, embrace this tradition, enjoy the process, and let the joy of creating something with your own hands be the brightest ornament on your tree this year.
Frequently Asked Questions
What are some creative ways to personalize homemade Christmas ornaments?
Get personal with your ornaments by adding photos, names, or special dates. You can also use customized paint, glitter, or ribbons to match your unique style. Or, try monogramming or making a handmade ornament that represents a inside joke or memory, making it a one-of-a-kind treasure on your tree.
Can I use natural materials like pinecones and leaves to make unique ornaments?
Absolutely, get creative with nature’s treasures like pinecones, leaves, and twigs to craft one-of-a-kind ornaments that add a rustic touch to your tree. Simply glue, paint, or decorate them as desired, and hang them up to bring the outdoors in.
How do I properly preserve and store handmade ornaments to make them last for years to come?
To keep your handmade ornaments looking their best for years, gently wrap each one in tissue paper or bubble wrap and store them in a sturdy container. You can also use egg cartons or small boxes to separate and cushion them. This will protect them from dust, moisture, and breakage, ensuring they remain vibrant and intact for future holiday seasons.